I had a little unexpected project recently with my car. And one that went better than fixing the window, which just failed and resulted in a returned part and a window that no longer functions.
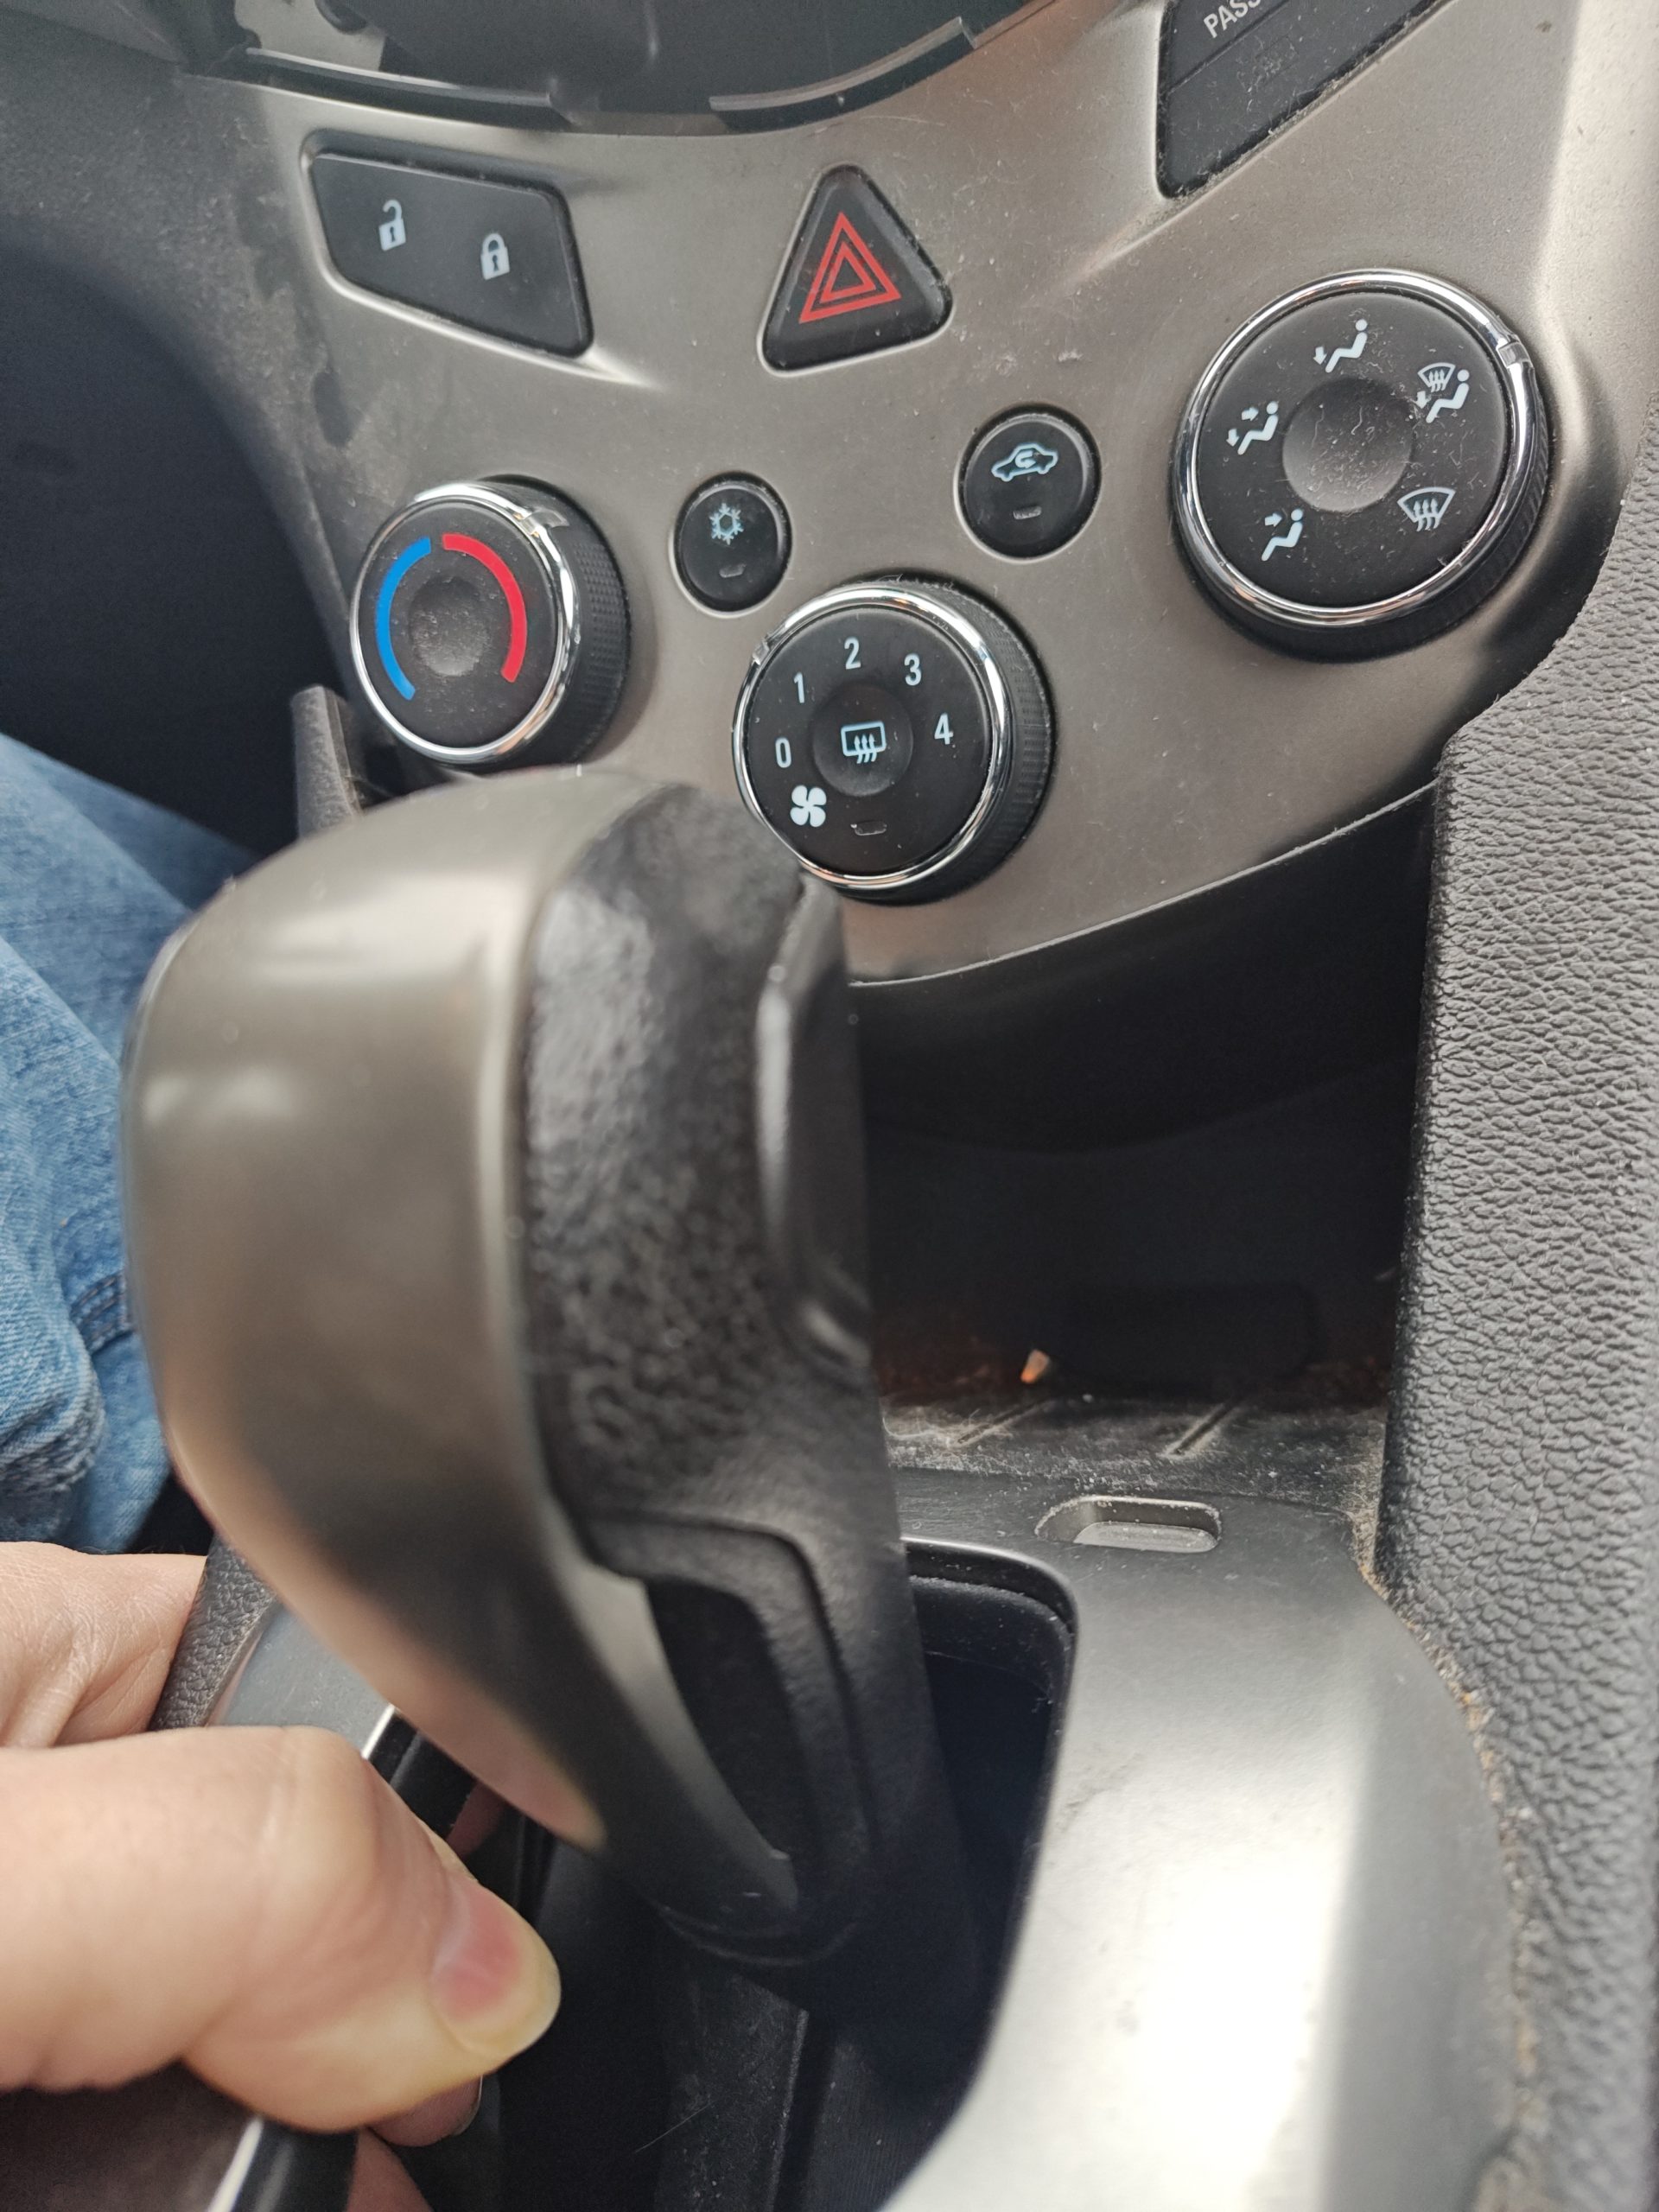
I was adjusting the blower setting on the air conditioner and there was a stiff turn before it just, stopped working.
The knob still turned but the blower was stuck on “blow out the main vents.”
I would have been less worried if it were any season except winter, but its winter, so eventually, I will need the defroster. After checking online to confirm that the knob was likely broken, and to then find the part, I found that, I likely would not even need a part.
See, my car is basic enough that the whole thing works mechanically. And doing some online searching suggested the likely culprit was a twisted cable inside. Easy to check and fix before spending money on an expensive part or shop repair.
So I set about disassembling the dash. I followed the relevant sections of these two videos, for fixing other parts. But I wanted to throw out my own first hand tips.
For the top part, it really is all friction. There are 6 points, no clips to worry about breaking, but you don’t want to twist it too much as the friction pegs may snap off. I started at the bottom like the video, but had to pry carefully along the seams going up to the top to get it to pop out.
Also notable, my car does not have the screen like in the video, but this technique works for the style with a non screen radio just fine.
There are no other wires or anything on the top.
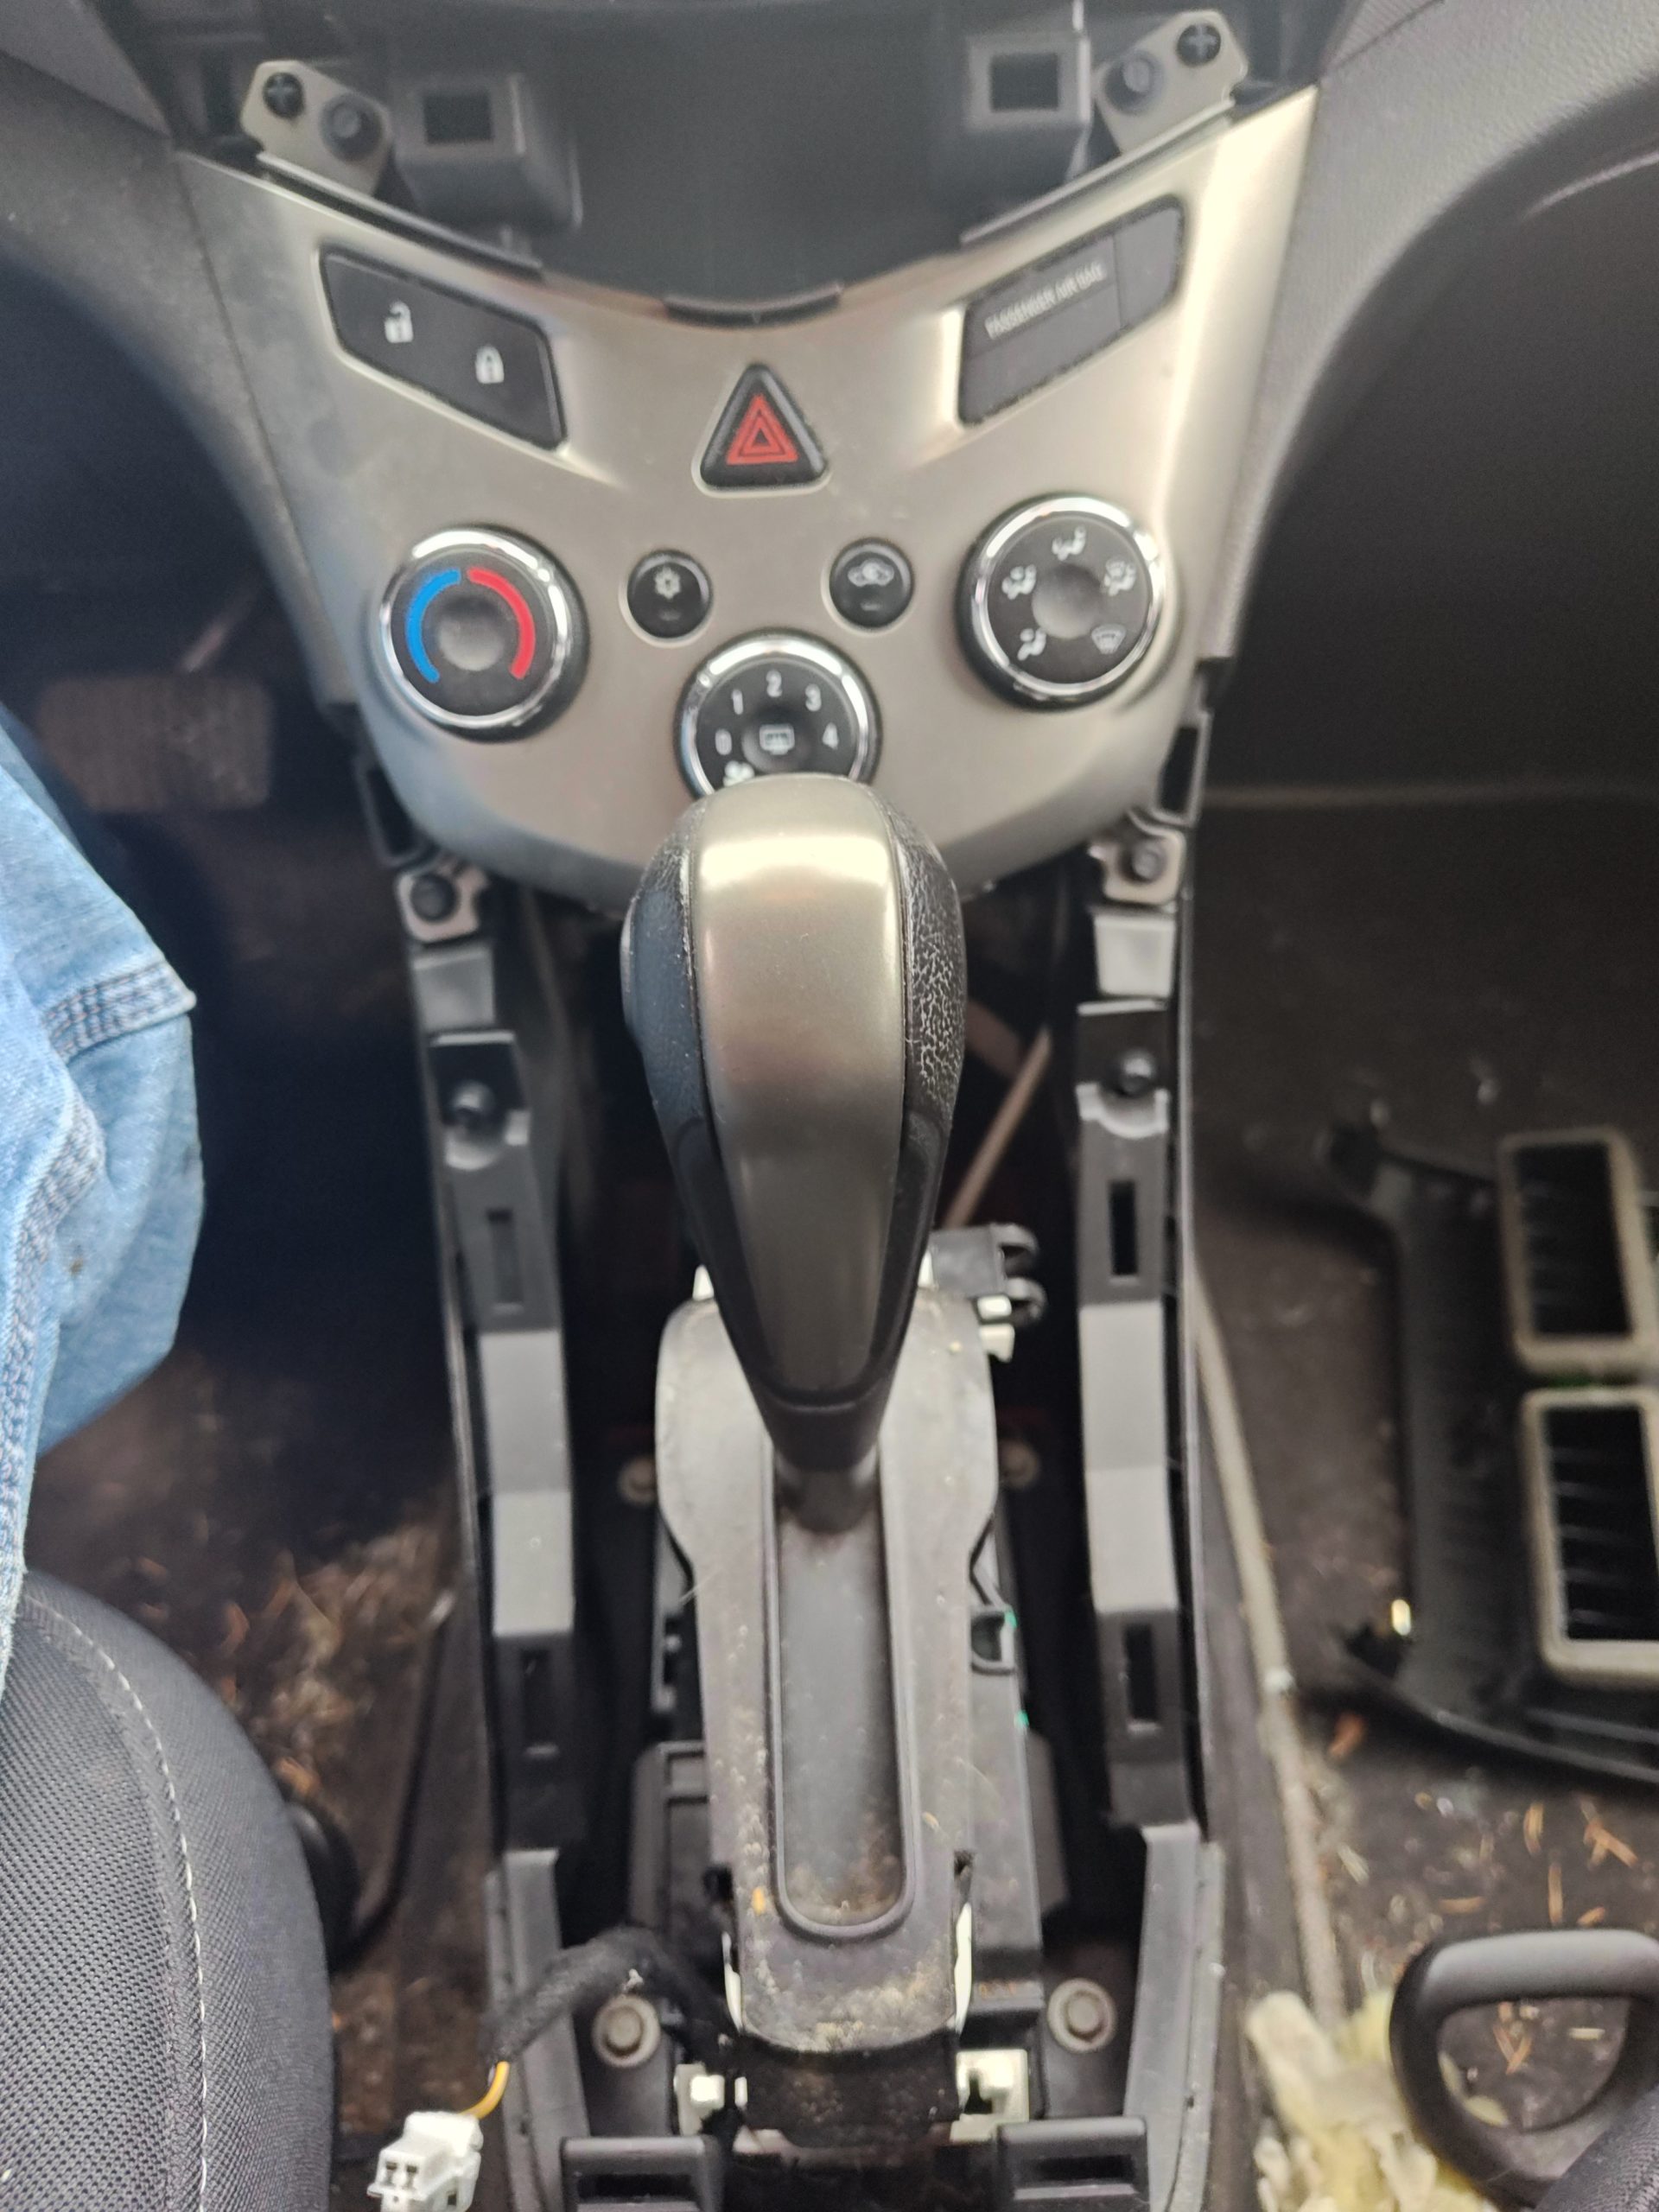
The bottom works similar, its just friction. I started on the passenger side, on the side of the console along the seam. Push a large-ish flat heat into the crack, then twist it slowly, and it should start levering it up.
The tricky part is when its free, lifting it out. This probably isn’t required, but it makes thing easier to reach, and, I recommending using this opportunity to clear both pieces of the console. If its like my car, its probably gross, and its much easier to clean loose.
Back to the tricky bit. The part will not slide over the gear shifter while the car is in park. There isn’t enough room. So you will need your keys. You don’t need to start the car, but it won’t come out of park without the key in the ignition and “accessory” mode on at least. You probably want the keys later anyway to test the blower, but more on that later.

With the keys “on”, press and hold the brake pedal, shift it to neutral or drive, and slide the console piece over the shifter. Then put it back in park. You will need to do the same thing later to put it back on. There is also a cable attached that has a release clip. It lights up the shift indicator. Don’t forget to reconnect it when finished.
This isn’t required, but I recommend using this opportunity to clean both pieces of the console. If its like my car, its probably gross, and its much easier to clean loose since you can take it to a sink and really get in the weird cracks.
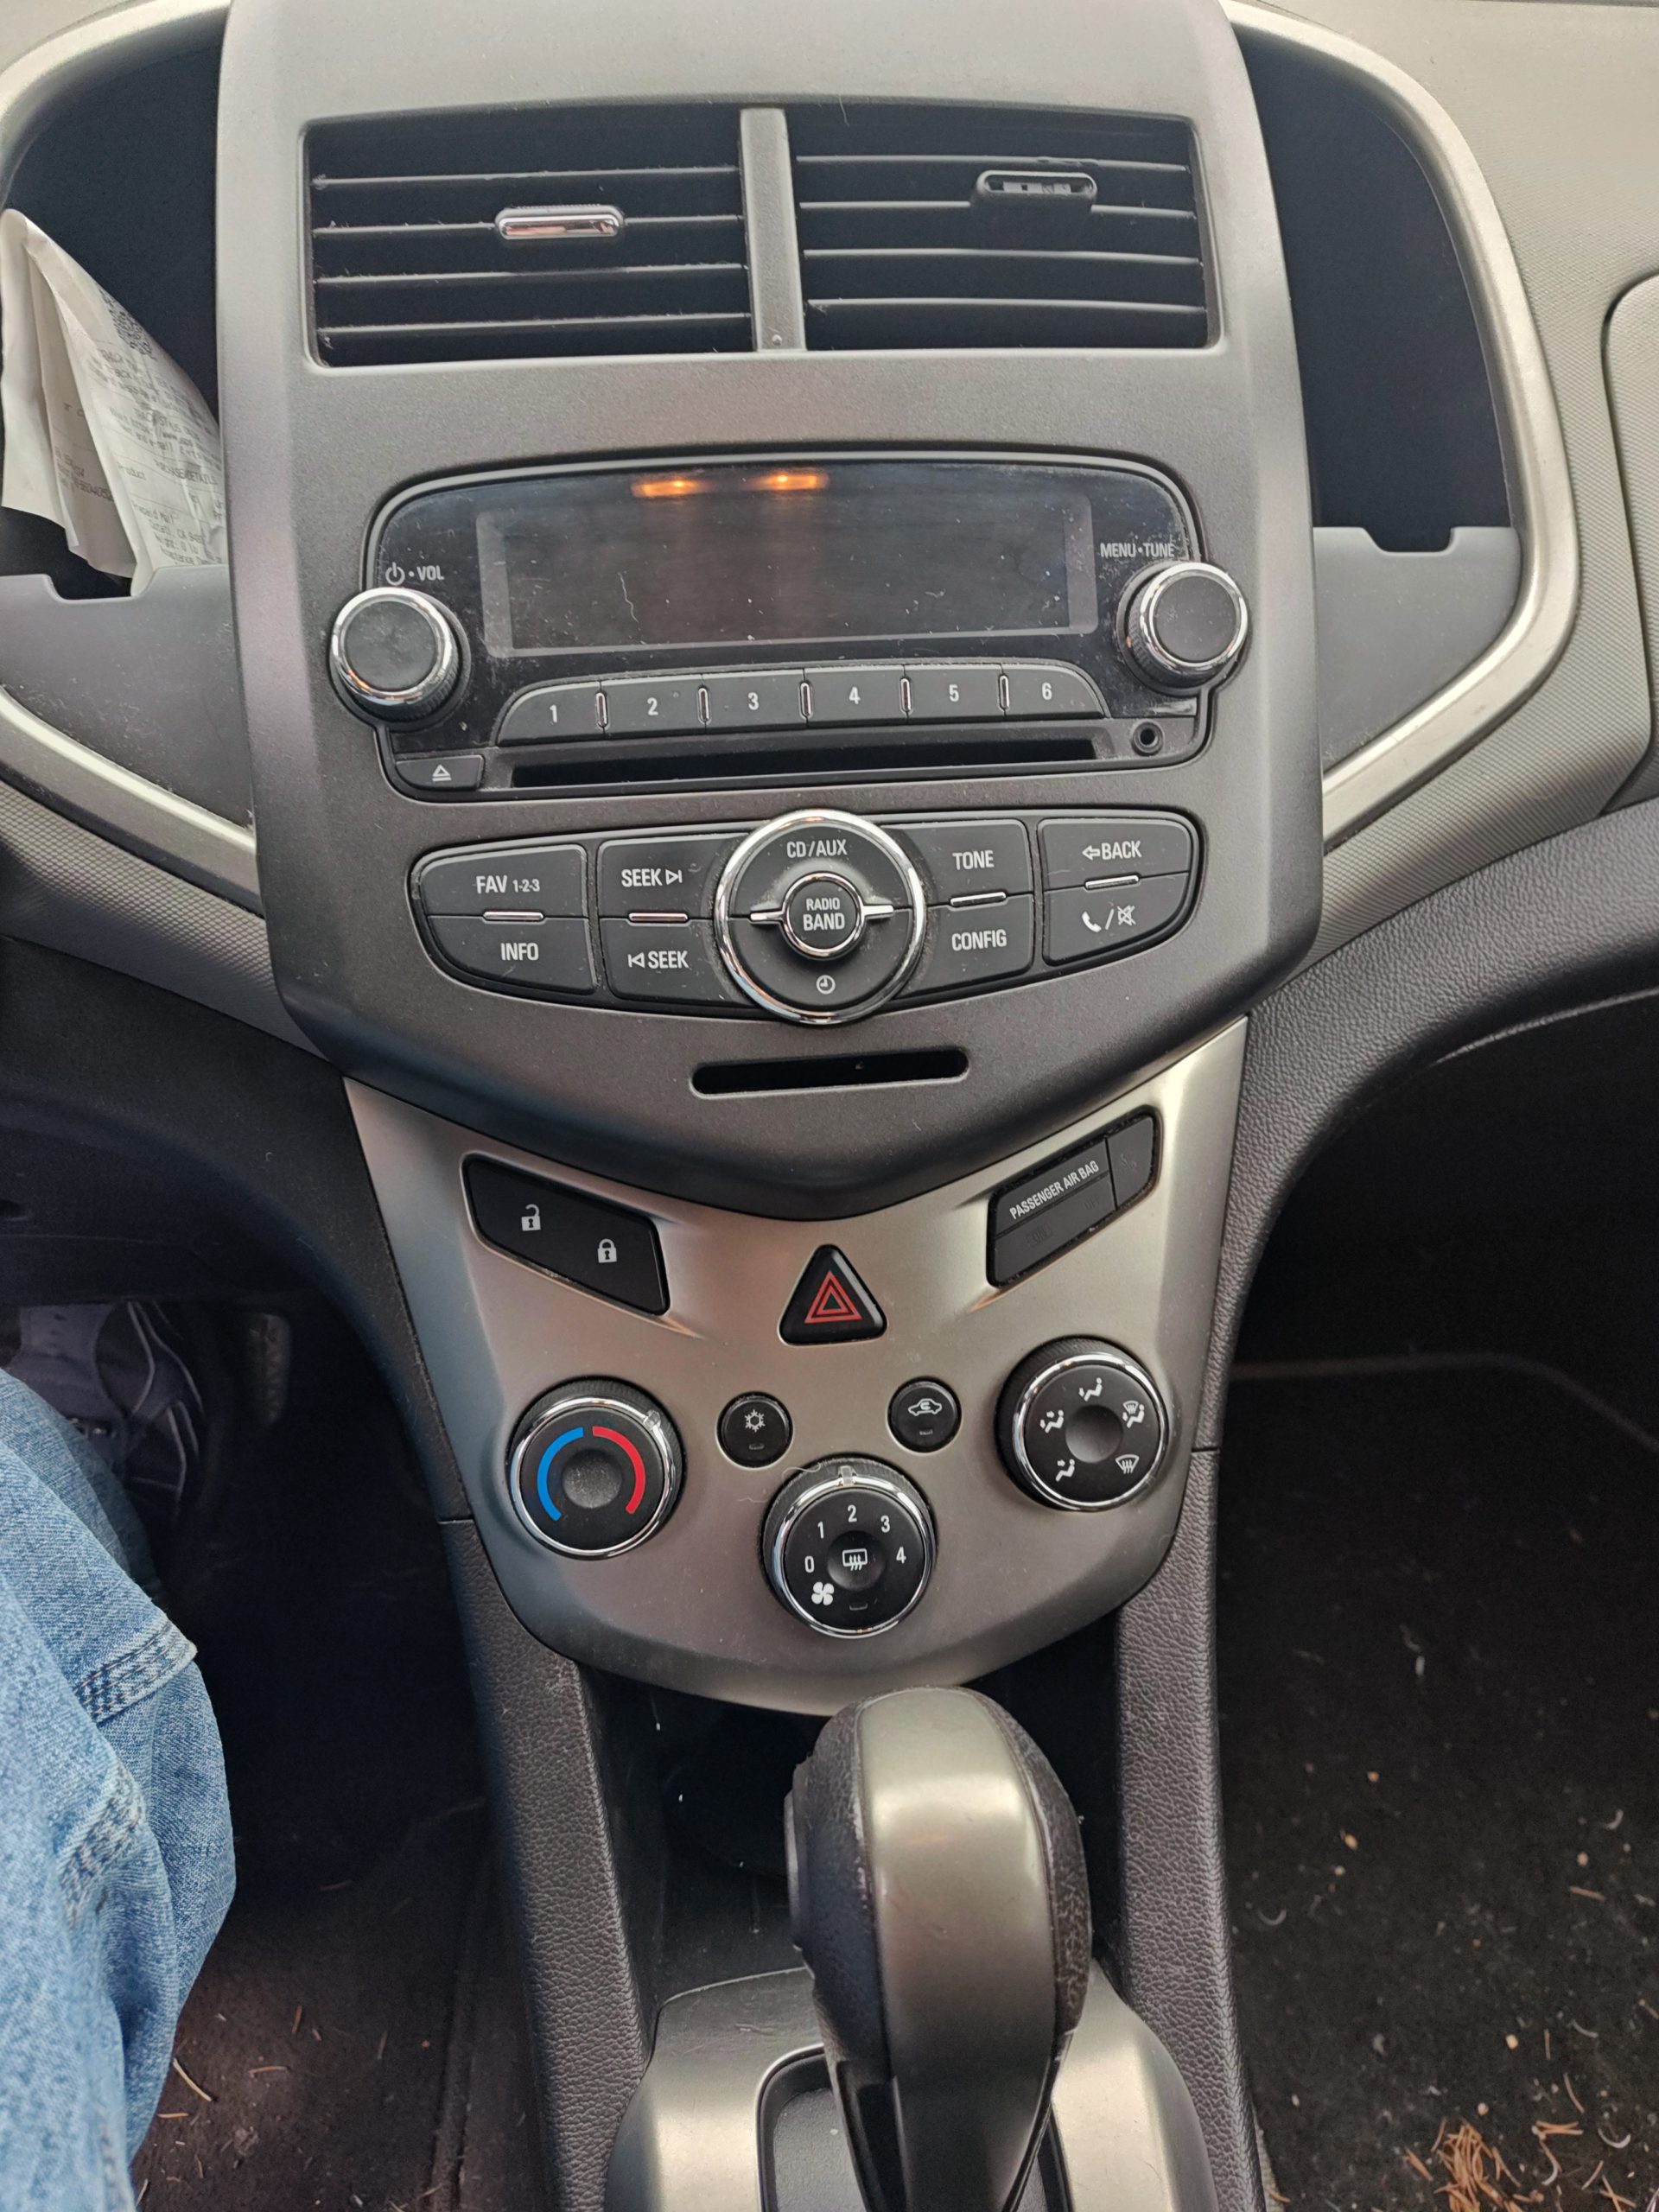
This leaves the AC controls exposed. There are 4 nuts, probably 1/4″, but I just tried sockets until one fit. Try not to drop them, and set them aside.
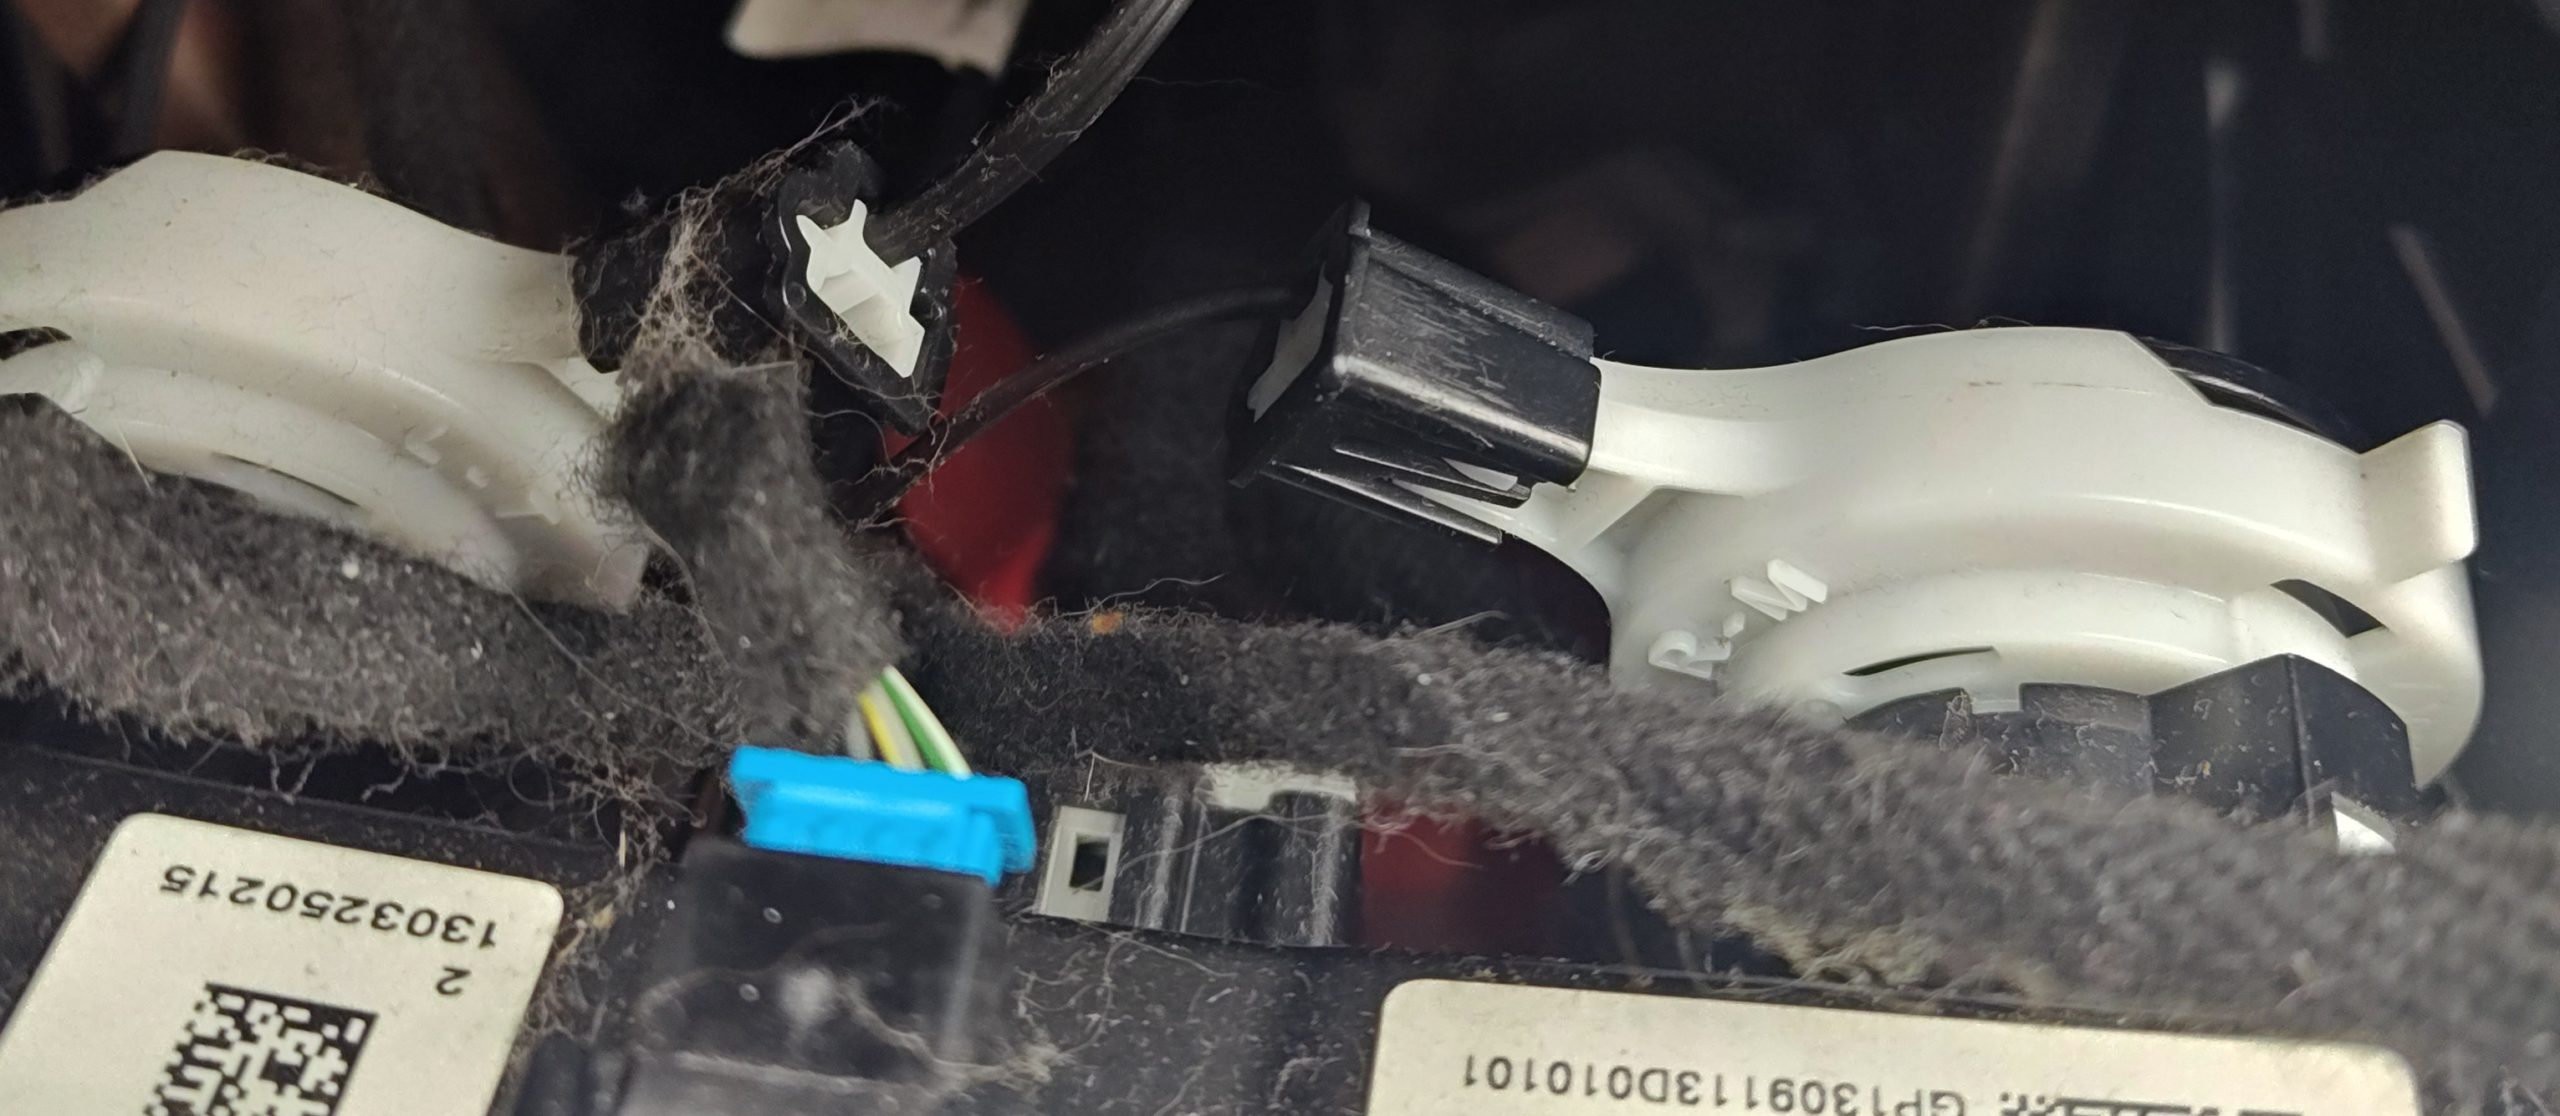
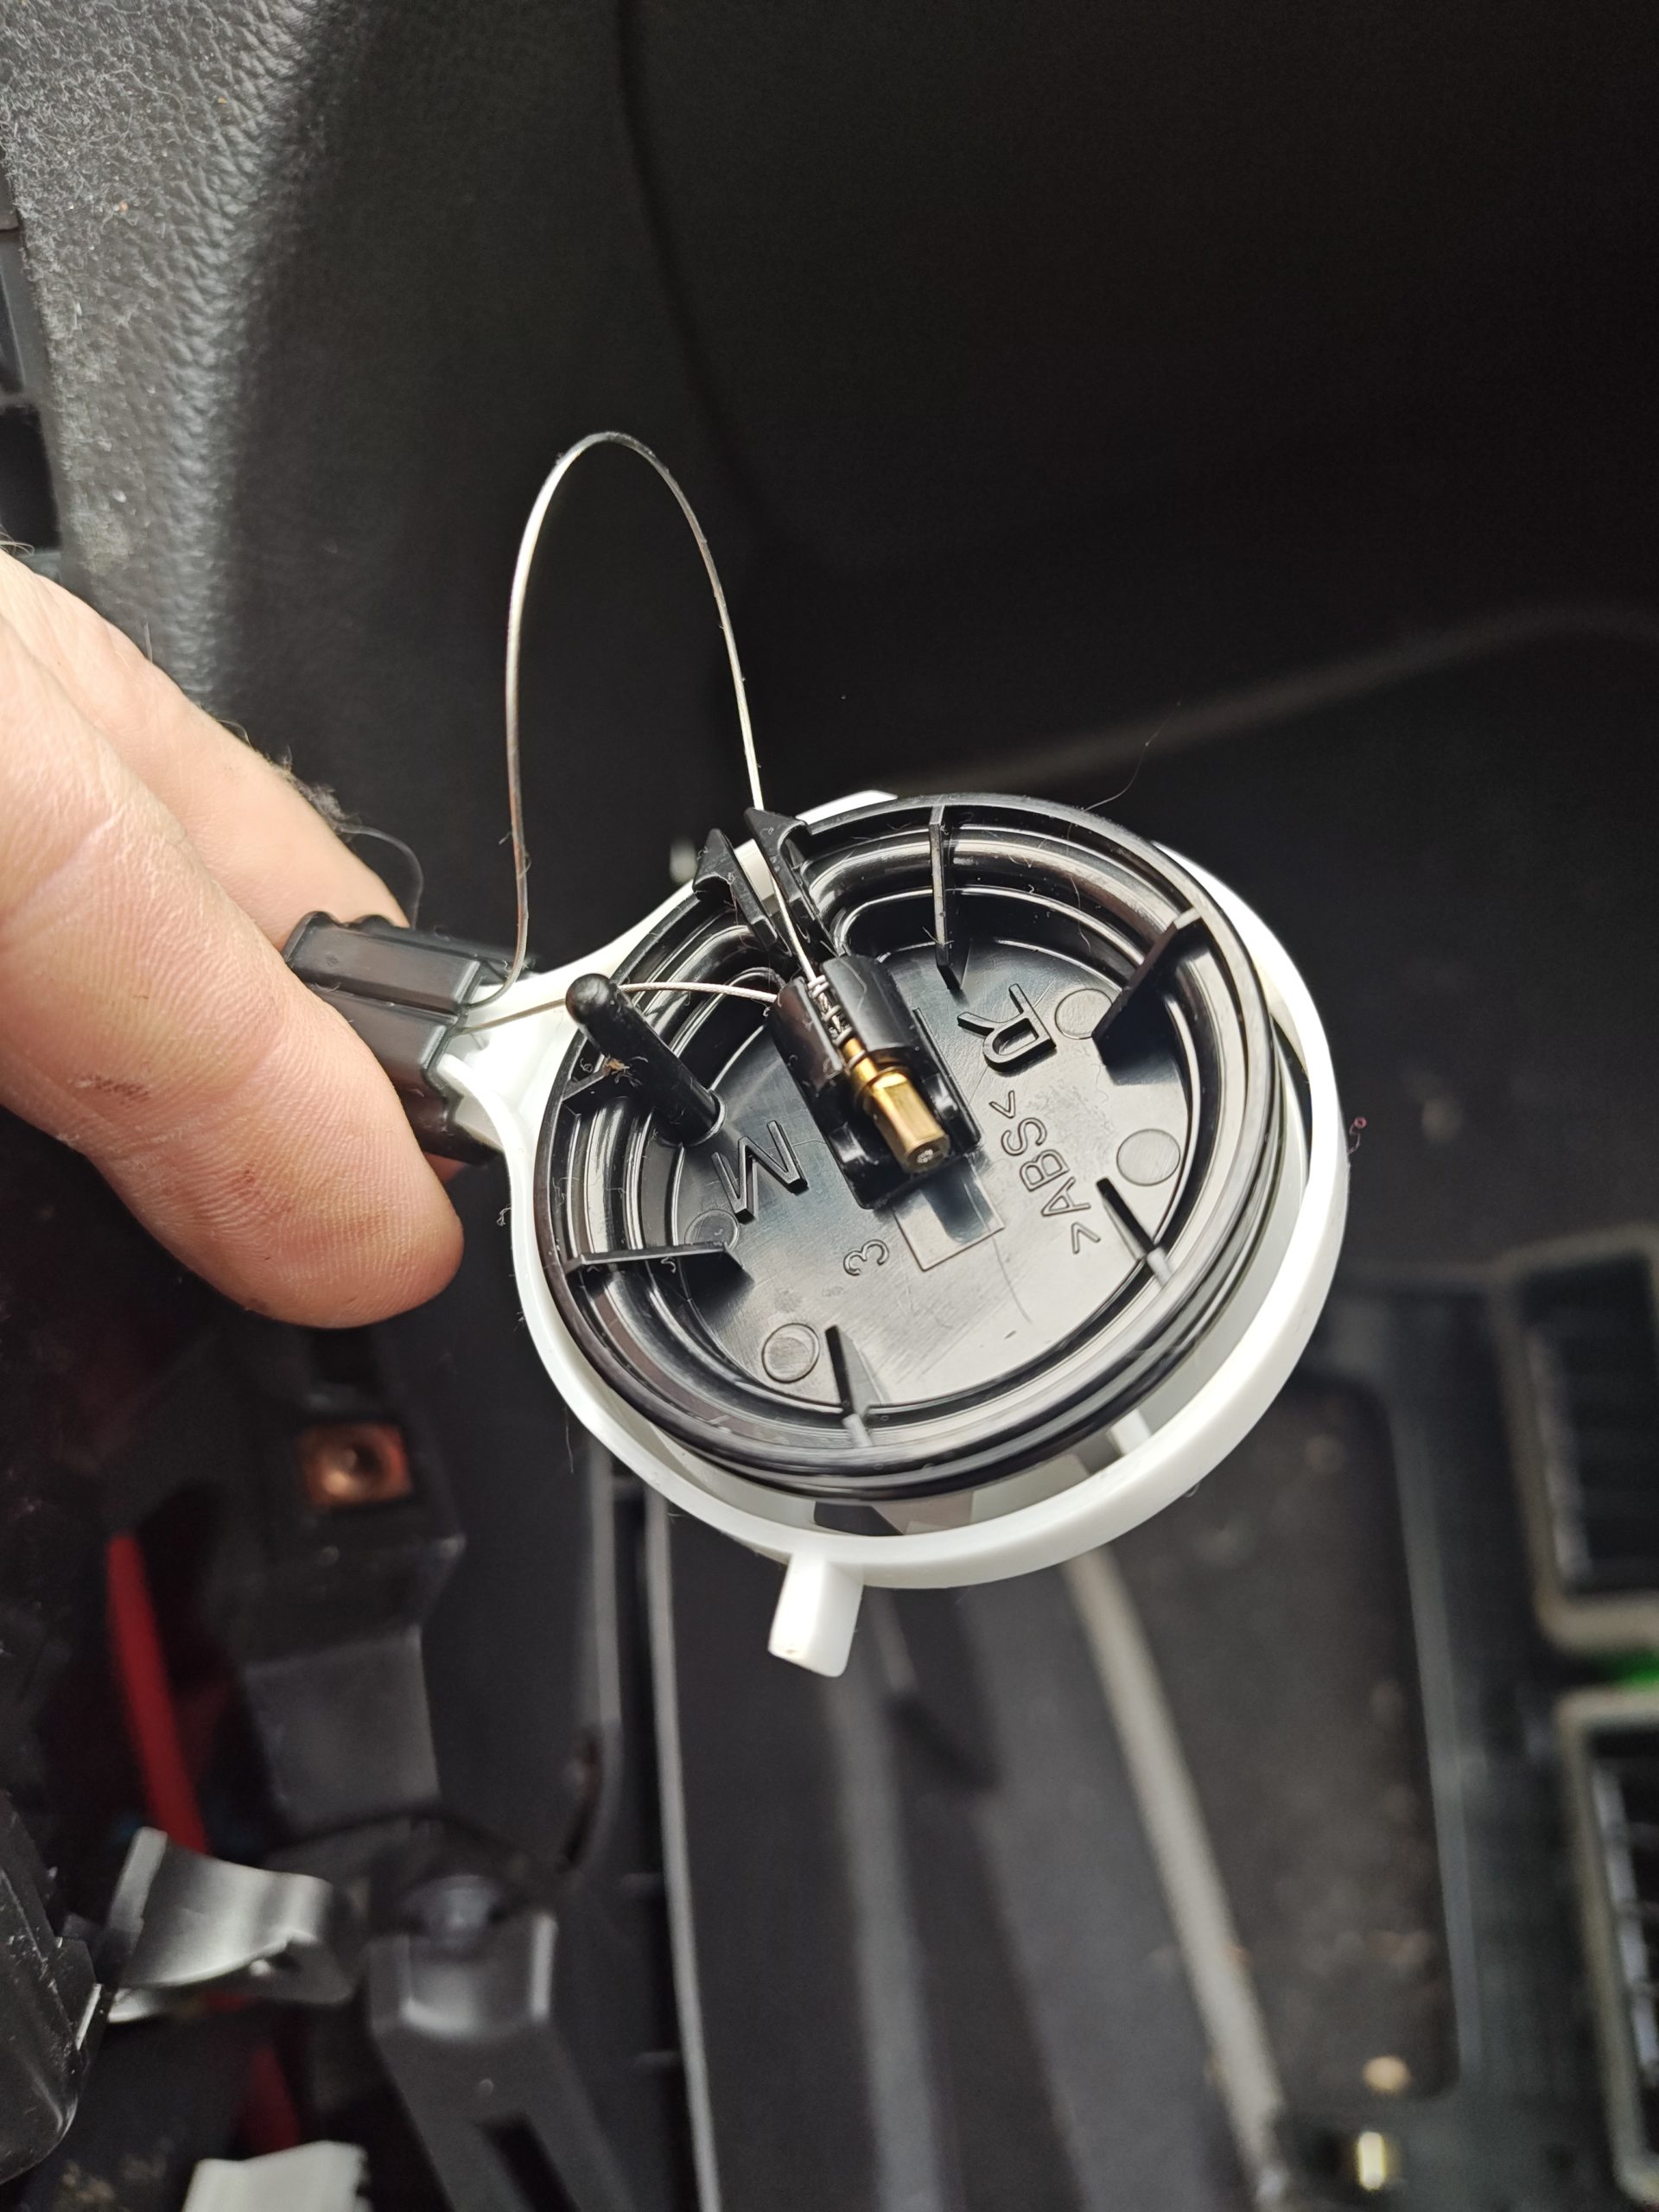
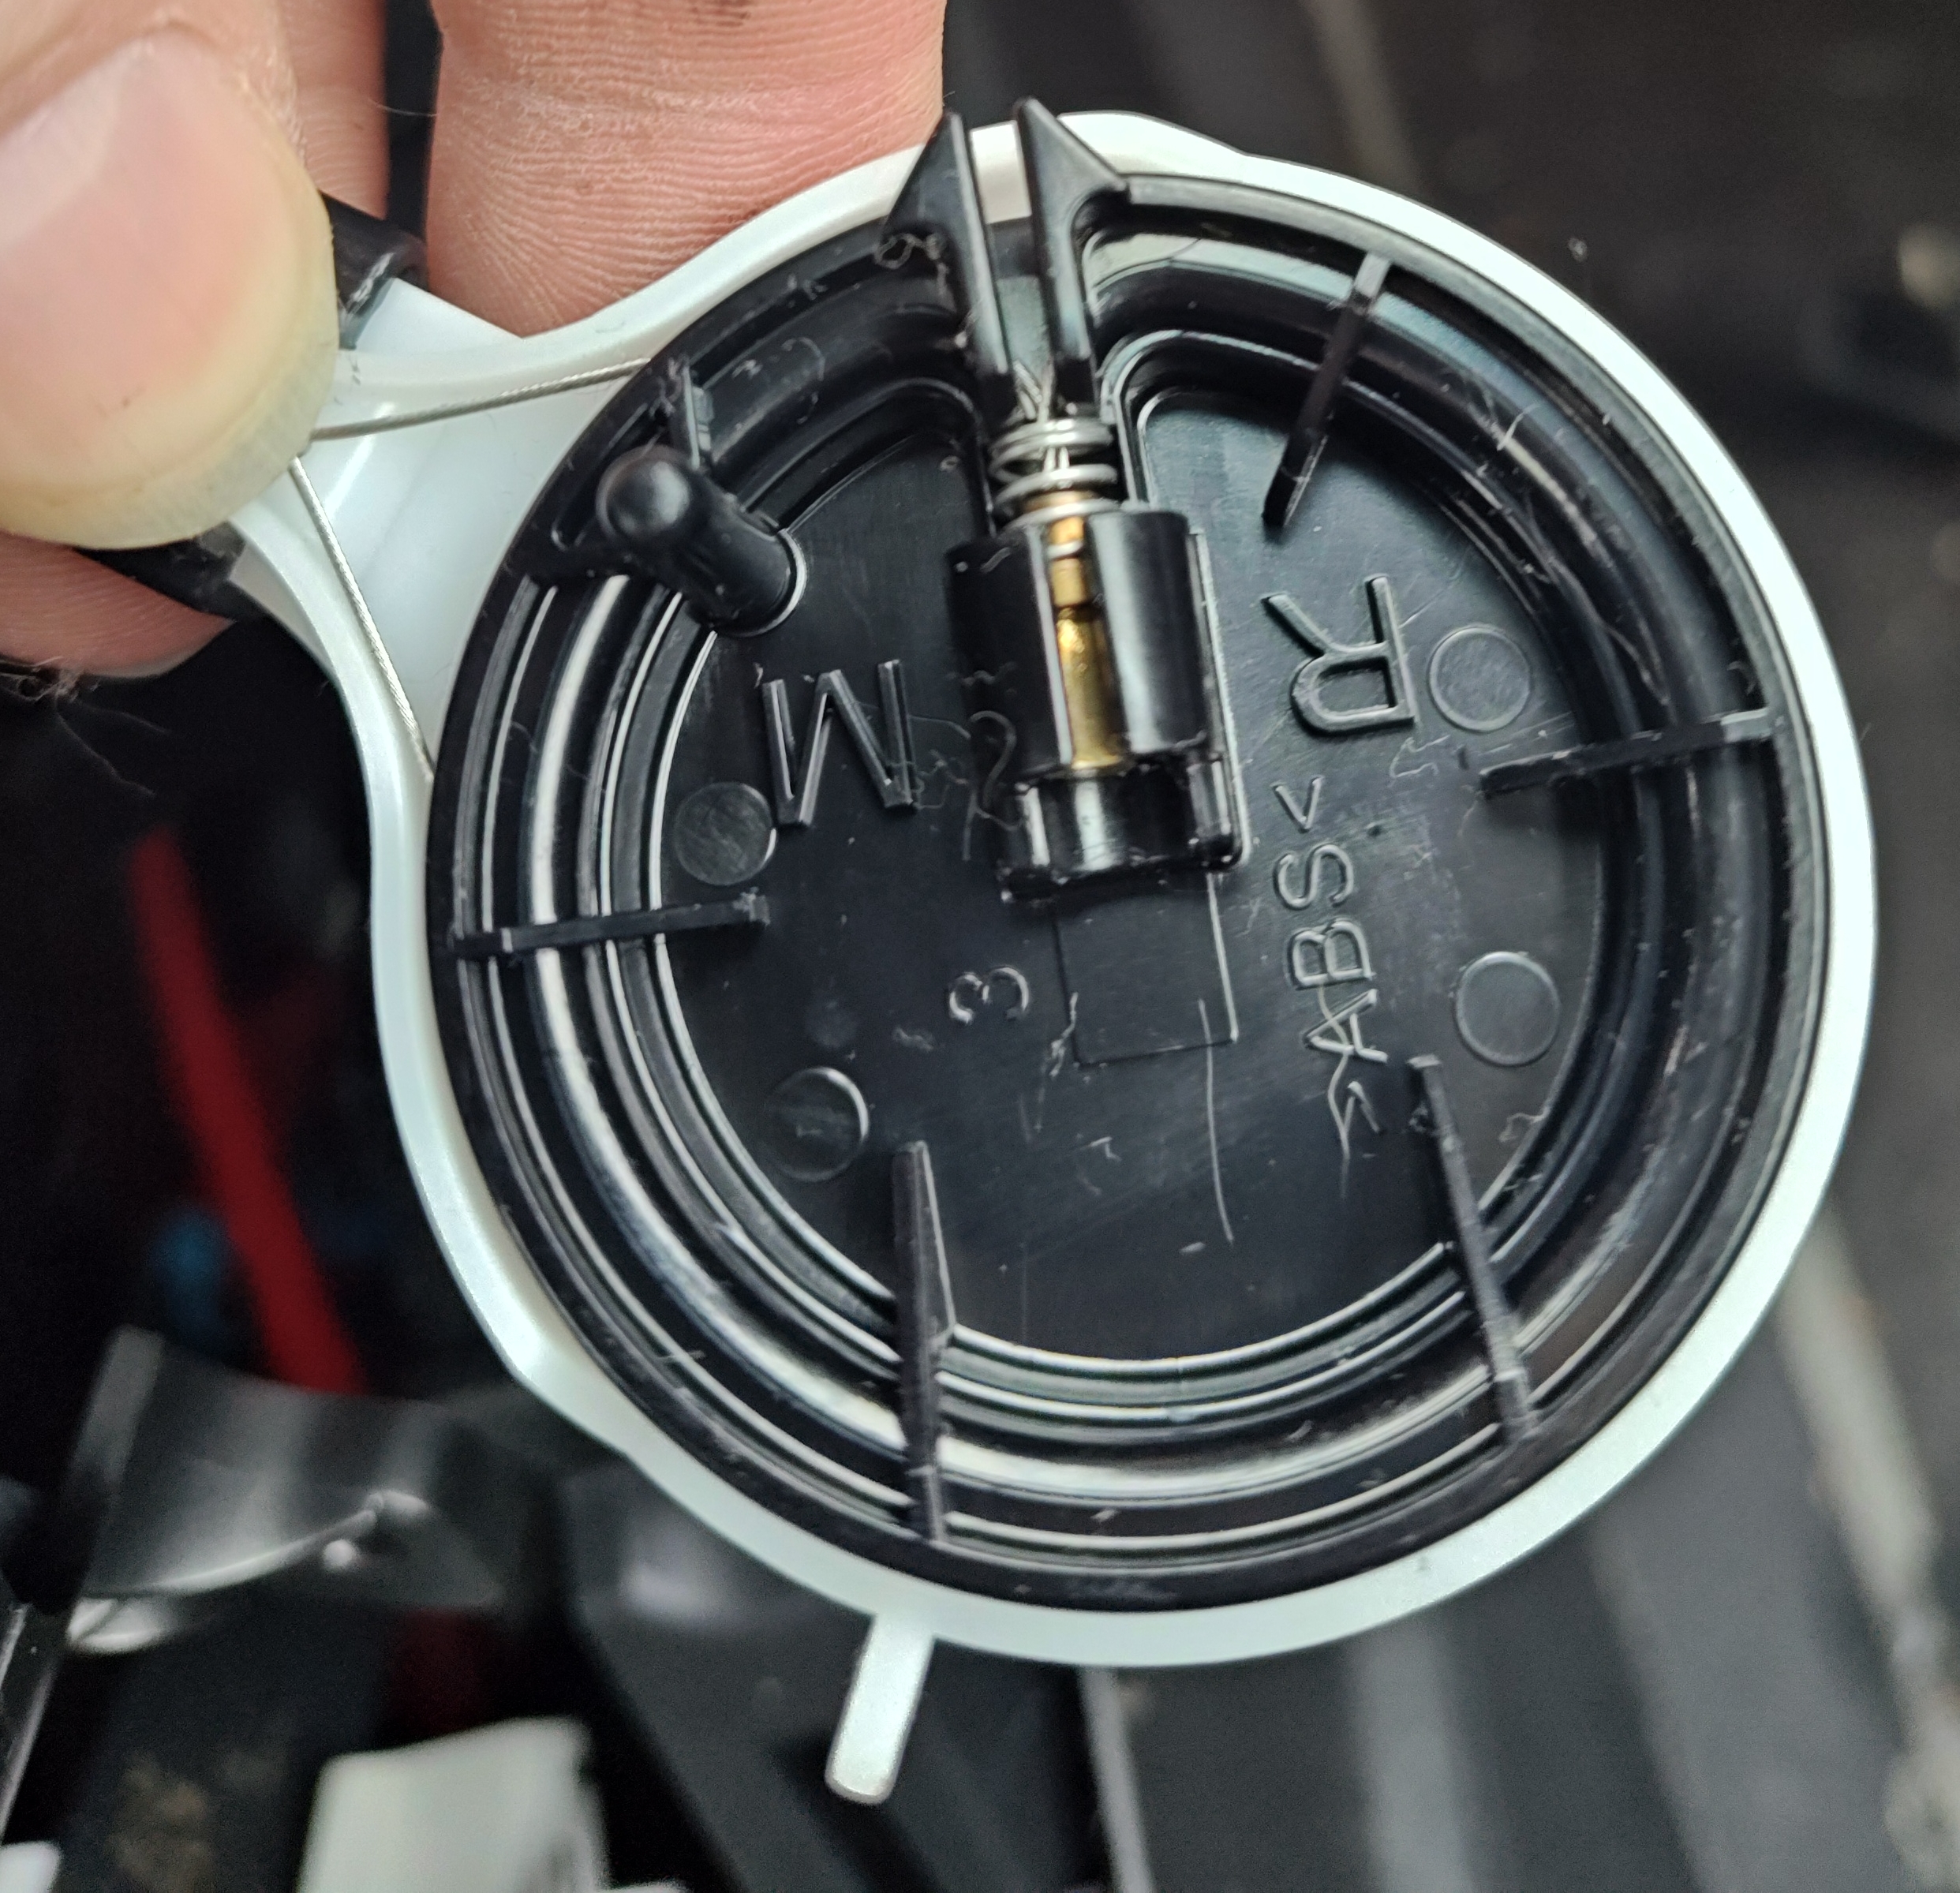
Actually doing the work is trickier again. There are a bunch of cables and wires that could be disconnected. I opted not to. Without disconnecting, the piece only lifts out a couple of inches. This is enough to poke a screw driver in to release the one piece that does need fixed. In my case, it was super obvious. There was a silver cable coiled out the back of the knob, which is the sort of, black and white piece shown.
I used a screwdriver to release the piece from the knob there are clips on the top and bottom, the top is easy to reach. The bottom is doable.
The mechanism itself just uses a pair of tension cables, sort of like how a bike brake works. They wrap opposite directions around the spinning piece, pulling one forces the blower direction to change, somewhere deeper in the vehicle.
In my case, the cable had come loose on one side. Another person when I had checked for a fix, suggested the cable can become twisted. I guided the two cables back into the obvious little slot on the nob, and made sure they wrapped opposite directions on the knob.
This is where I suggest turning the key to the accessory on position, turning on the AC and testing the blower.
I reassembled mine, without testing, and discovered the knob was “reversed.” The Defroster was blowing on the left most extreme and the dash vents on the right most extreme. This meant that my “wrap in opposite directions” was backwards. I pulled it apart again, pulled the wires off, carefully keeping track of which was which, then reversed their wrap directions. This corrected the issue.
After cleaning the dash up with some rags and water, I reassembled everything again and everything was working again.
The whole process was actually pretty easy, it took maybe a half hour, even with my mistakes and stopping to double check what I was doing.