On my little list of projects, I mentioned a webcam set up. My wife asked me about something for monitoring the cats while we are out. The ideal place would be in the front room area. I have plenty of Pis floating around and an extra Logitech cam, but I also already have one Pi in that area running my PiHole. There isn’t any reason I couldn’t attach the cam, to that Pi.
It ended up being a bit more work than expected, but not really for any negative reasons. I found an easy guide for setting up Motion on a Raspberry Pi, but it turns out, my PiHole was extremely outdated. I am not sure its been touched in at least 5 years now.
I did some cursory updates but decided it would be much easier to just re-image the card fresh, reinstall PiHole, and go from there.
The hardest parts?
One, I had to retrieve the physical device from behind the TV. Not super difficult.
Two, I had to figure out how to set the static IP, because it seems like in the last few distro updates, its no longer just editing /etc/interfaces. It seems now you use something called nmcli. The specific command is something like this:
sudo nmcli connection modify "Wired connection 1" \
    ipv4.addresses 192.168.1.100/24 \
    ipv4.gateway 192.168.1.1 \
    ipv4.dns "192.168.1.1" \
    ipv4.method manual
Replacing the .100 IP with my desire PiHole IP and the DNS with the DNS Server, which in this case, was the same IP. Followed by this to actually initialize the connection, which also meant reconnecting to the device over SSH.
sudo nmcli connection up "Wired connection 1"But first I also had to find the Pi on the network, since it was just running on DHCP. So this involved scanning for anything with SSH open.
nmap -p 22 --open -sn 192.168.1.0/24Third, and this one is really trivial, without the Pihole available, the internet became unavailable on my PC, because it had no DNS server to resolve to. So I had to look things up on my phone.
Once PiHole was back up and going, I stuck the webcam on the USB port and followed the guide. I also added a mount to the NAS to the fstab file so I could have the camera write its videos and images there instead of to the SD card. Run Individually, it’s something like this:
sudo mkdir /mnt/Video
sudo pico /etc/fstab
(Add the following to the end of fstab)
//NETWORK_IP_OF_SYNOLOGY/Video /mnt/Video cifs rw,dir_mode=0777,file_mode=0777,vers=2.0,username=USERNAME,password=PASSWORD 0 0
sudo systemctl daemon-reload
sudo mount -a
Side note, there are more secure ways to handle that username and password with files not in fstab but this is just easy for the level of security needed here.
Once this was all set up, installing the software itself was simple following this guide.
I also adjusted a few settings:
- target_dir /mnt/Video/Cameras/FrontRM
- Disable the Images saving
- Adjust the resolution to be half of 1920×1080 is
- Adjusted the pixel change threshold by adding a 0 so it wouldn’t fire constantly (I think the default was 1500)
After each change and test you also need to do:
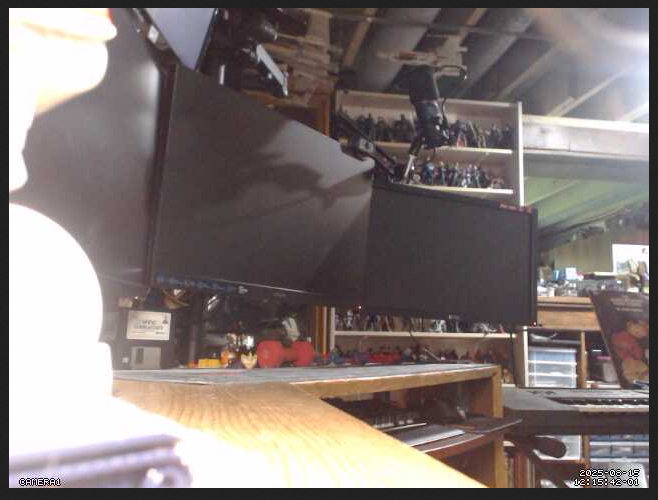
sudo systemctl restart motionIts still sitting in the basement being tested but so far its working fine. I may have to see if I can get some more cheap used cameras and set up a few more, I believe the software can handle more than one camera as well and I have several Pis floating around.